A while ago, I have showed you how can you install your Unifi Controller on your Synology NAS if you don’t have a Rasberry Pi or Cloud Key on your Unifi network environment.
Since Unifi is changing its controller and expanding it’s functionality, thanks for our favourite 3rd party developer at synology.acmenet.ru, we can upgrade our controller from version 5.6.37 to 5.9.32. While the new version is still in beta state, I have been using it more than a week and I have never experienced any bug, feature or performance degradation.
To upgrade your controller in your environment, you need to follow the tasks below:
- Create a configuration backup on your current controller.
- Download the new Synology package to your CPU type (i.e.: UniFi_SDN_Controller-arm-5.9.32-190111-beta.spk)
- Stop the current controller and update Java if you have not done that a long time ago.
- Install the new package and start it after.
- Load the configuration backup into your new controller.
Creating a backup and donwloading the new package
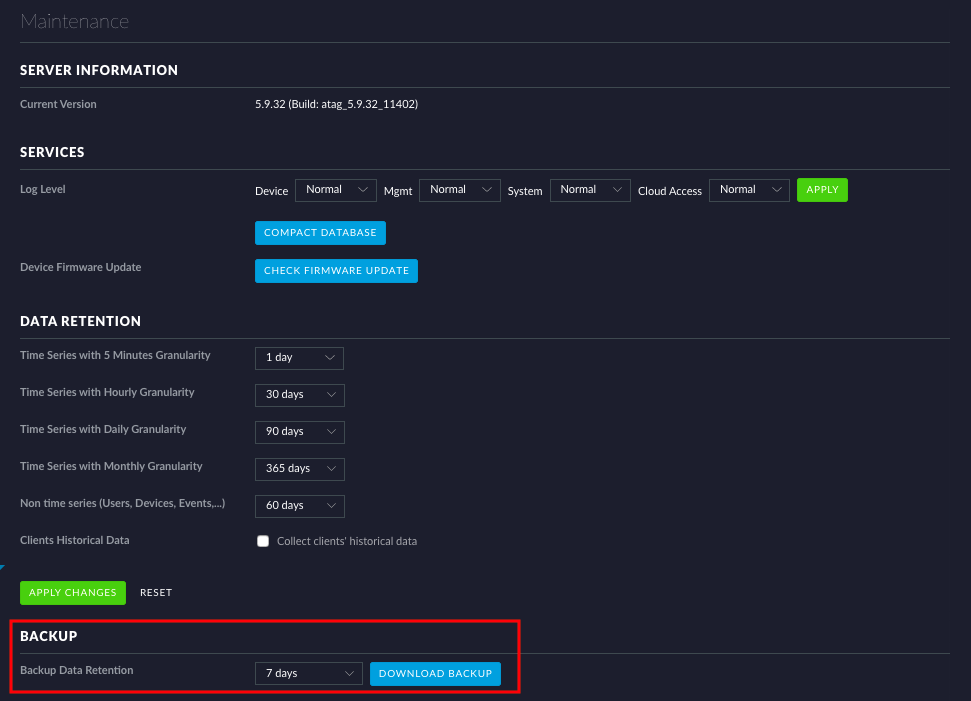
Sign into your current controller and navigate to the Settings – Maintenance page and in the middle of the page, there is a „Download backup” labeled button with a time frame selector. Pick your time frame and download the backup. Your browser should download a file with name: <controller version>-<current date>-<current time>.unf.
Once you have a backup, go to the page I linked before to grab the new package. Make sure you download that package which belongs to your CPU type. In my case, it is monaco.
Stop the current controller and update Java
Before you can install the new version, first you need to stop the current controller. It is required because when you are going to install the new controller it will try to bind the same port number like the old one, and it will result in a port conflict.
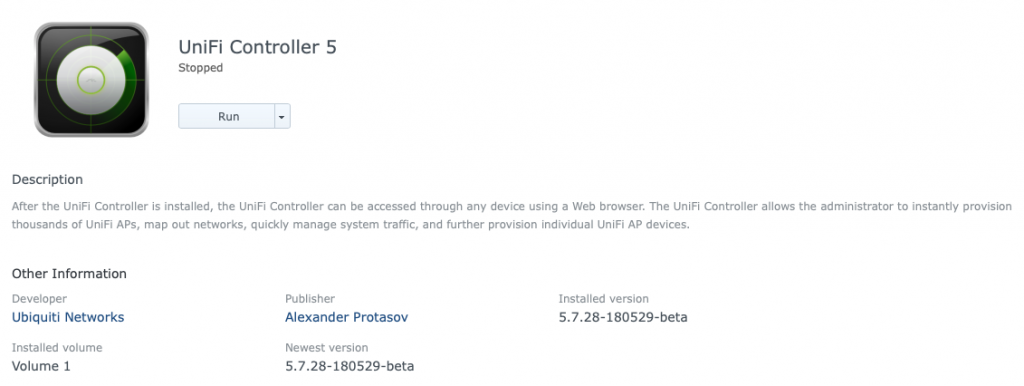
To stop the current controller, simply sign into your NAS’ admin page, go to Package Center – Installed view, locate the „Unifi Controller 5” and stop it.
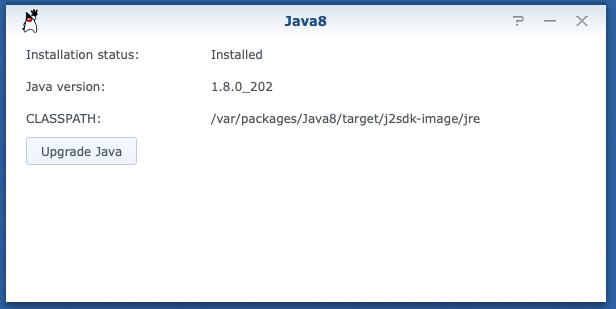
It is optional to update Java. The current Java version is „1.8.0_202”, so if you are not running this version, please follow the steps written in my original guide (Chapter 2 – Update Java) to update it.
Install the new controller
Head back to your Synology’s Package Center and on the top right corner of the window, click Manual Install button. Follow the on-screen instructions to install the downloaded spk file.
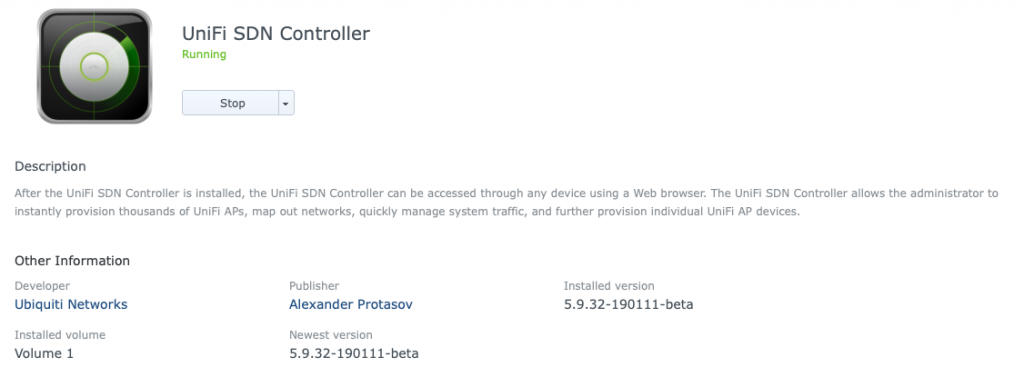
Once the installation finished and the application is started, you can navigate to your controller’s address: https://<your NAS’ IP>:8443/manage/account/login
Importing the configuration
Once you have navigated to the controller’s webpage, an initial setup wizard will open. On the bottom of the wizard, there is a link allowing you to import an existing configuration. Click on that link, and import the configuration you have backed up at beginning.
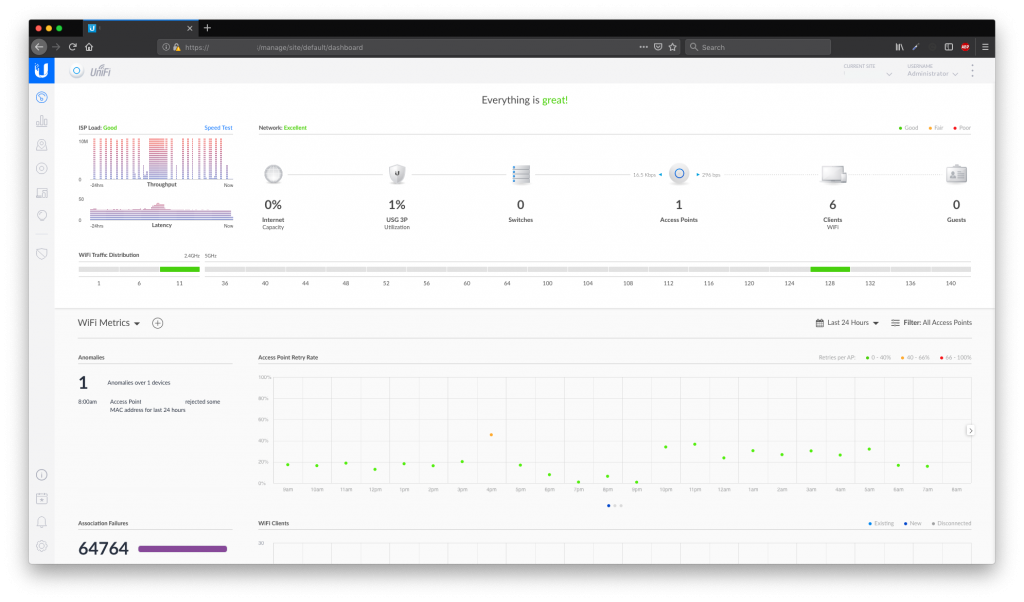
Let the system to process your import task. Once it is finished, you need to login to the controller like you did before and enjoy the controller.
Access from the cloud
The only thing I have discovered so far in the new controller next to the new UI, that finally you can now enable the Cloud Access feature which was unavailable on the previous versions. Now you can reach your controller at anytime from anywhere.
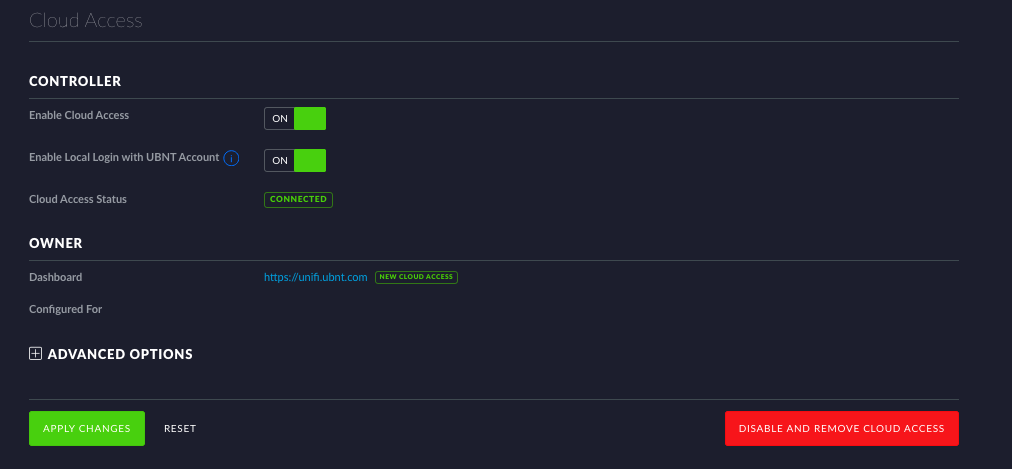
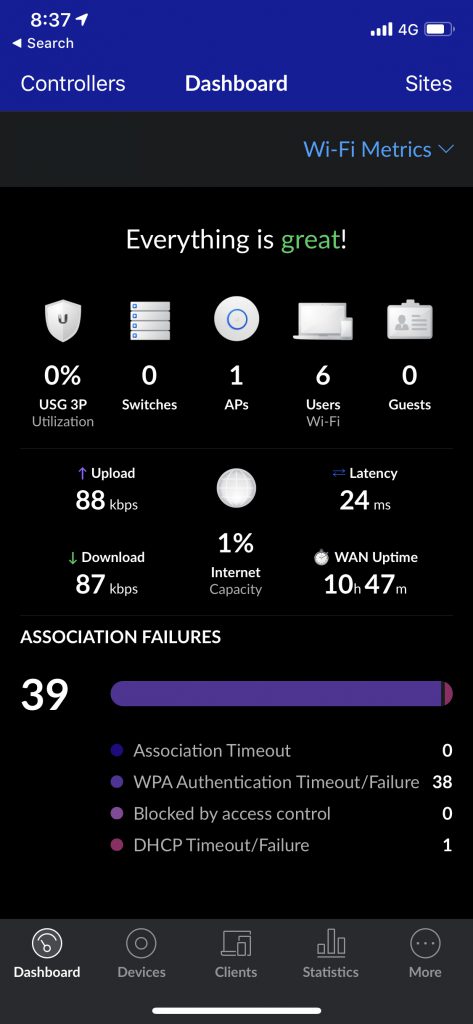
Even from the Android or iOS application. 🙂
Have fun!