Recently we moved to a new house, and therefore I have set up a new network environment in our new home. I choose Ubiquiti devices including a Unifi Security Gateway for the router role, and a Unifi AC-Pro for the access point.
These devices can be setup with the vendor’s own controller component which can be purchased separately as a product called (CloudKey), or you can install it on the supported platforms including Windows, Linux, Unix (even on a Raspberry).
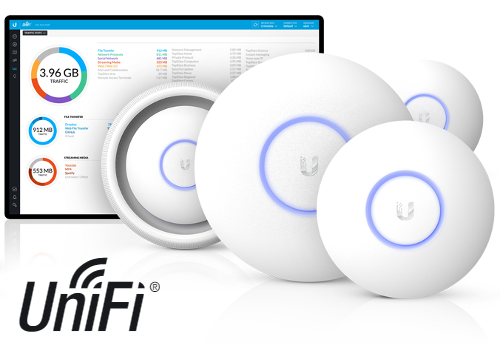
I did not want to purchase neither a Pi machine nor a CloudKey, because I found many forum threads, that this controller can be run on a Synology NAS as well, so I started to catch up around the topic.
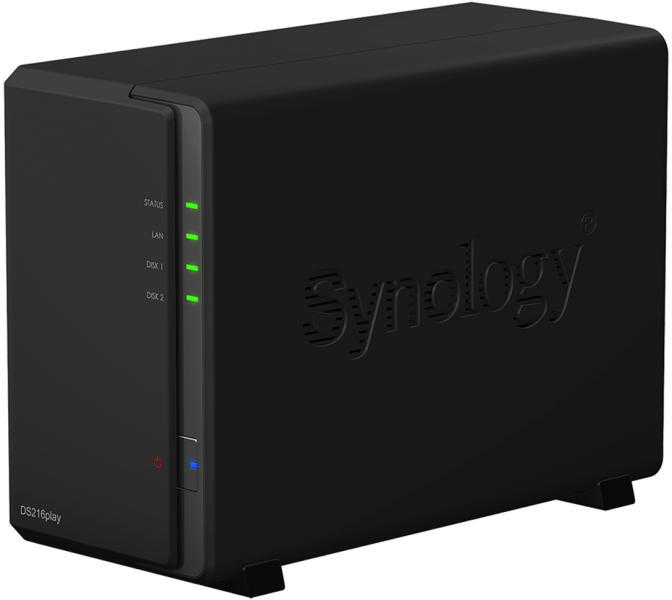
I have a DS216play NAS.
I wrote this article first of all to myself to be able to remember later, and in the meantime maybe it will be useful to others.
Let’s get started.
1. Install Java 8
Because Unifi Controller utilizes Java platform and totally built on it, the starting point is to get a working Java on my NAS. This is quite simple, go to your NAS’ Package Manager, search for Java and install Java 8.
2. Update Java
This step is crucial. Once Java 8 installed, open Java’s management application on your NAS, and click on the Update Java button.

On the following window follow the instructions and update Java.
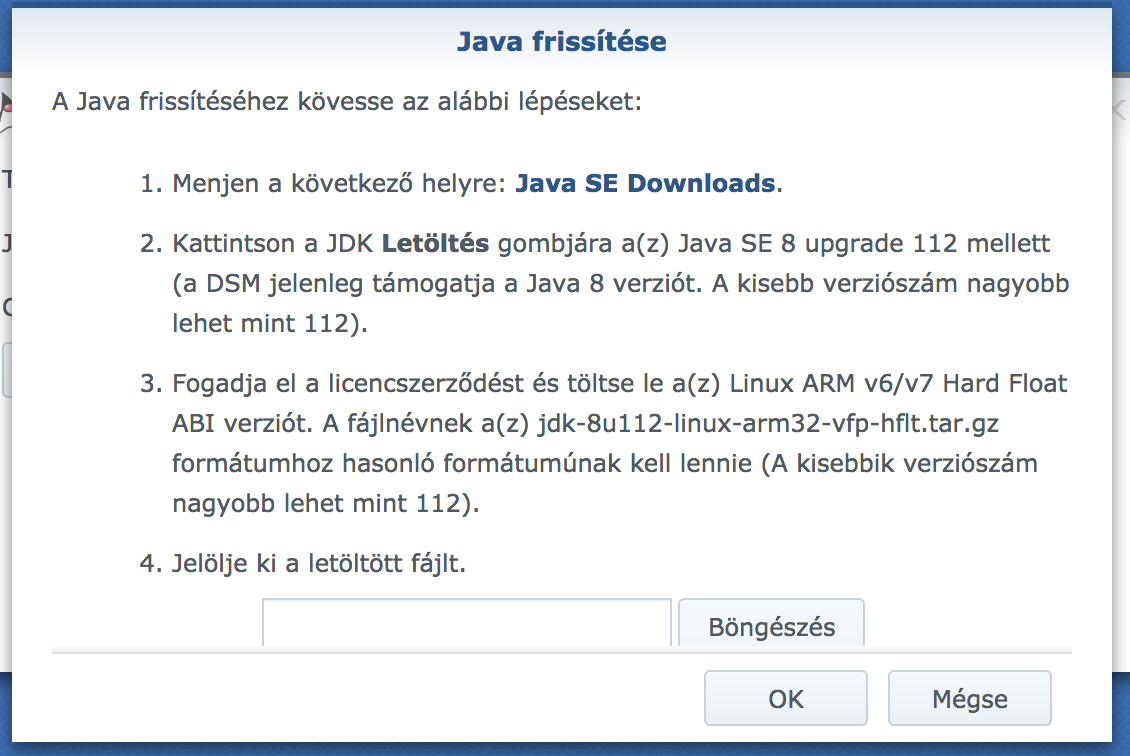
At the time when I updated Java, for my platform the most recent version was 1.8.0_161.
3. Add Unifi Controller repository
Once you have installed Java, the next step is to add a new package repository to Package Manager. From this source we will be able to install the Unifi Controller 5.
To do so, follow the steps.
- Open the Package Manager on your NAS’ admin interface.
- Click the Settings button on the top.
- Navigate to Package Sources tab, then click New.
- Give a name (i.e.: Ubiquiti Unifi Controller for Synology) and for location: http://synology.acmenet.ru/
- Click OK, then close the Configuration panel.
- On the left side, choose Community section and in its content, look for Unifi Controller 5 and install it.
- Follow the installation wizard and apply the settings.
Once the package installed, it will try to start it, but it will fail with a huge overflowing error popup window. That’s normal. The root cause of the issue, that MongoDB is missing from the package, therefore it cannot initialize the application data. Leave the application shut down and follow the steps in chapter 4.
4. Adding MongoDB components to Unifi Controller
As I mentioned in the previous chapter, we need to add manually the MongoDB binaries to the Controller. To do so, first download the MongoDB file from the bottom of this blog post. Once you downloaded, go on with the instructions.
- Upload the downloaded tar.gz file with File Station.
- If you have not already enabled SSH access to your NAS, it’s time enable it (follow the official documentation).
- Open an SSH session against your NAS.
- Follow the commands below:
sudo -i (when asked, provide your admin user's password)
cd /volume1/<path to the compressed file's directory>
tar -xvf core_mongodb_3_0_14.tar.gz
mv mong* /volume1/\@appstore/Unifi\ Controller\ 5/bin
chmod +x /volume1/\@appstore/Unifi\ Controller\ 5/bin/mong*
If you did everything fine, you should have 4 new mongo files in your Unifi Controller 5/bin directory with execution rights. The files’ owner is root:root.
5. Starting Controller
It’s time to start your Unifi Controller. Simply go back the admin interface of NAS, open your Package Manager, head to Installed section on the left. Search for your Unifi Controller 5 application and hit the Start button. Wait for the process to complete, and once it started, go to https://your_nas_address:8443/manage/account/login URL and start using your Unifi Controller.
6. Limitations in DS216play model
By hardware limitation, the Cloud Access cannot be used on those Synology models, which runs 32 bit CPU. This is the only limitation, anything else works as expected.




Egy gondolat a “Unifi Controller @ Synology NAS”
A hozzászólások lezárva.